“You will be creating for the rest of your life. You might as well do it on purpose.”
~Unknown~
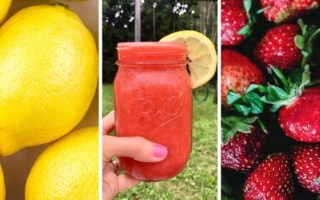
New Baby, New Decor!
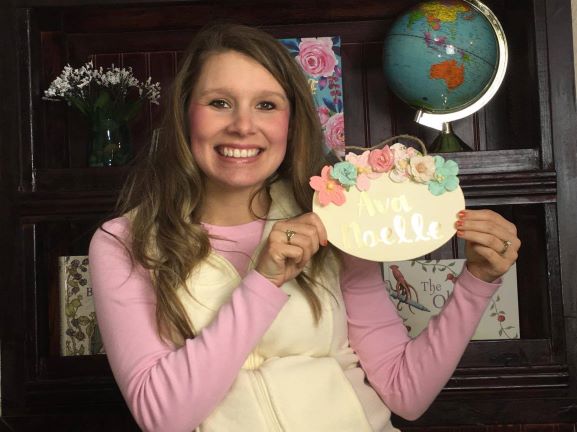
We are currently anticipating the arrival of our new sweet baby girl in March 2021! That time is approaching quickly so that means we need to kick up the organizing, cleaning, washing, and all of the baby things. I wanted to purchase one of those popular wooden name signs you see on Pinterest or Etsy BUT they aren’t cheap! I wanted to have one for each of our girls so that would have cost me close to $200 just for signs. At this point in time, I believe the money would be better spent purchasing diapers, a new car seat, and other essential baby items. So this project was born and I love how it turned out! I think the smaller size actually works better for our girls’ room and is the perfect addition to their current décor.

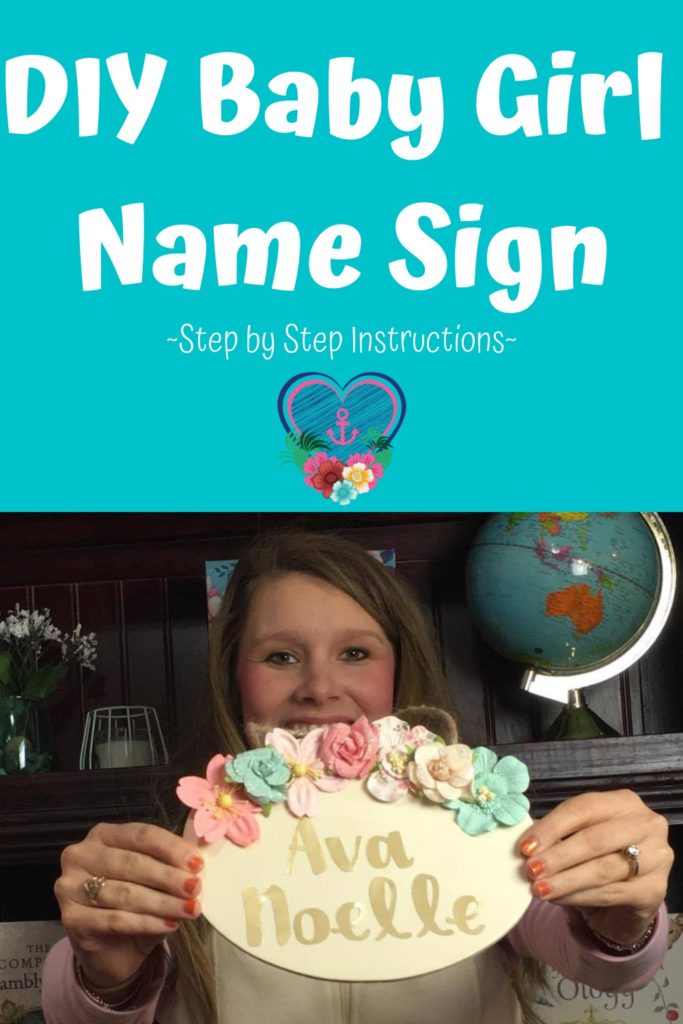
Step By Step Instructions
Materials Needed:
- Wooden Sign (Dollar Tree) Cost: $1
- Paper Flowers (Hobby Lobby) Cost: $4.99 each (40% Off)
- Letter Stickers (Hobby Lobby) Cost: $9.99 (40% Off)
- Hot Glue Gun
- Hot Glue Sticks
- TOTAL COST: $13.50 Each Sign Cost About $4.50
Plan How You Want Your Sign to Look
Place flowers on the sign. Focus on organizing and creating patterns to create the look you want. Everyone’s signs can look different. That is the beauty of arts and crafts!
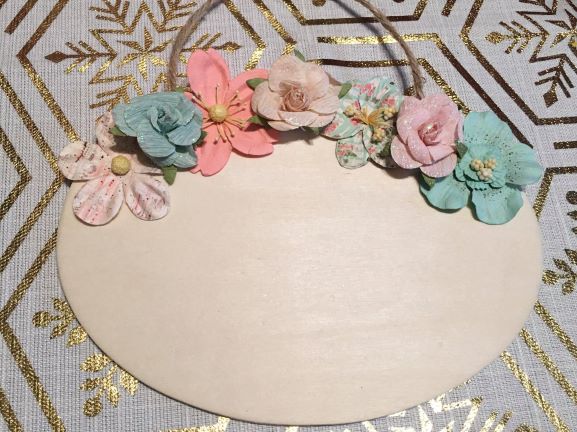

Hot Glue Your Flowers & Stick Your Letter Stickers On
When you glue your flowers on: Work from the outside to the inside to ensure you keep everything even. Start with the larger flowers first and then place in the smaller flowers to fill in gaps.
Tip: Use a ruler or piece of paper to help keep you letters straight when you stick those down.

Watch this YouTube video to see how I put everything together and to hear the reveal of our new Baby Girl’s Name!